travel guide: torres del paine
the ultimate planning, itenerary, and packing list
originally published January 2020.
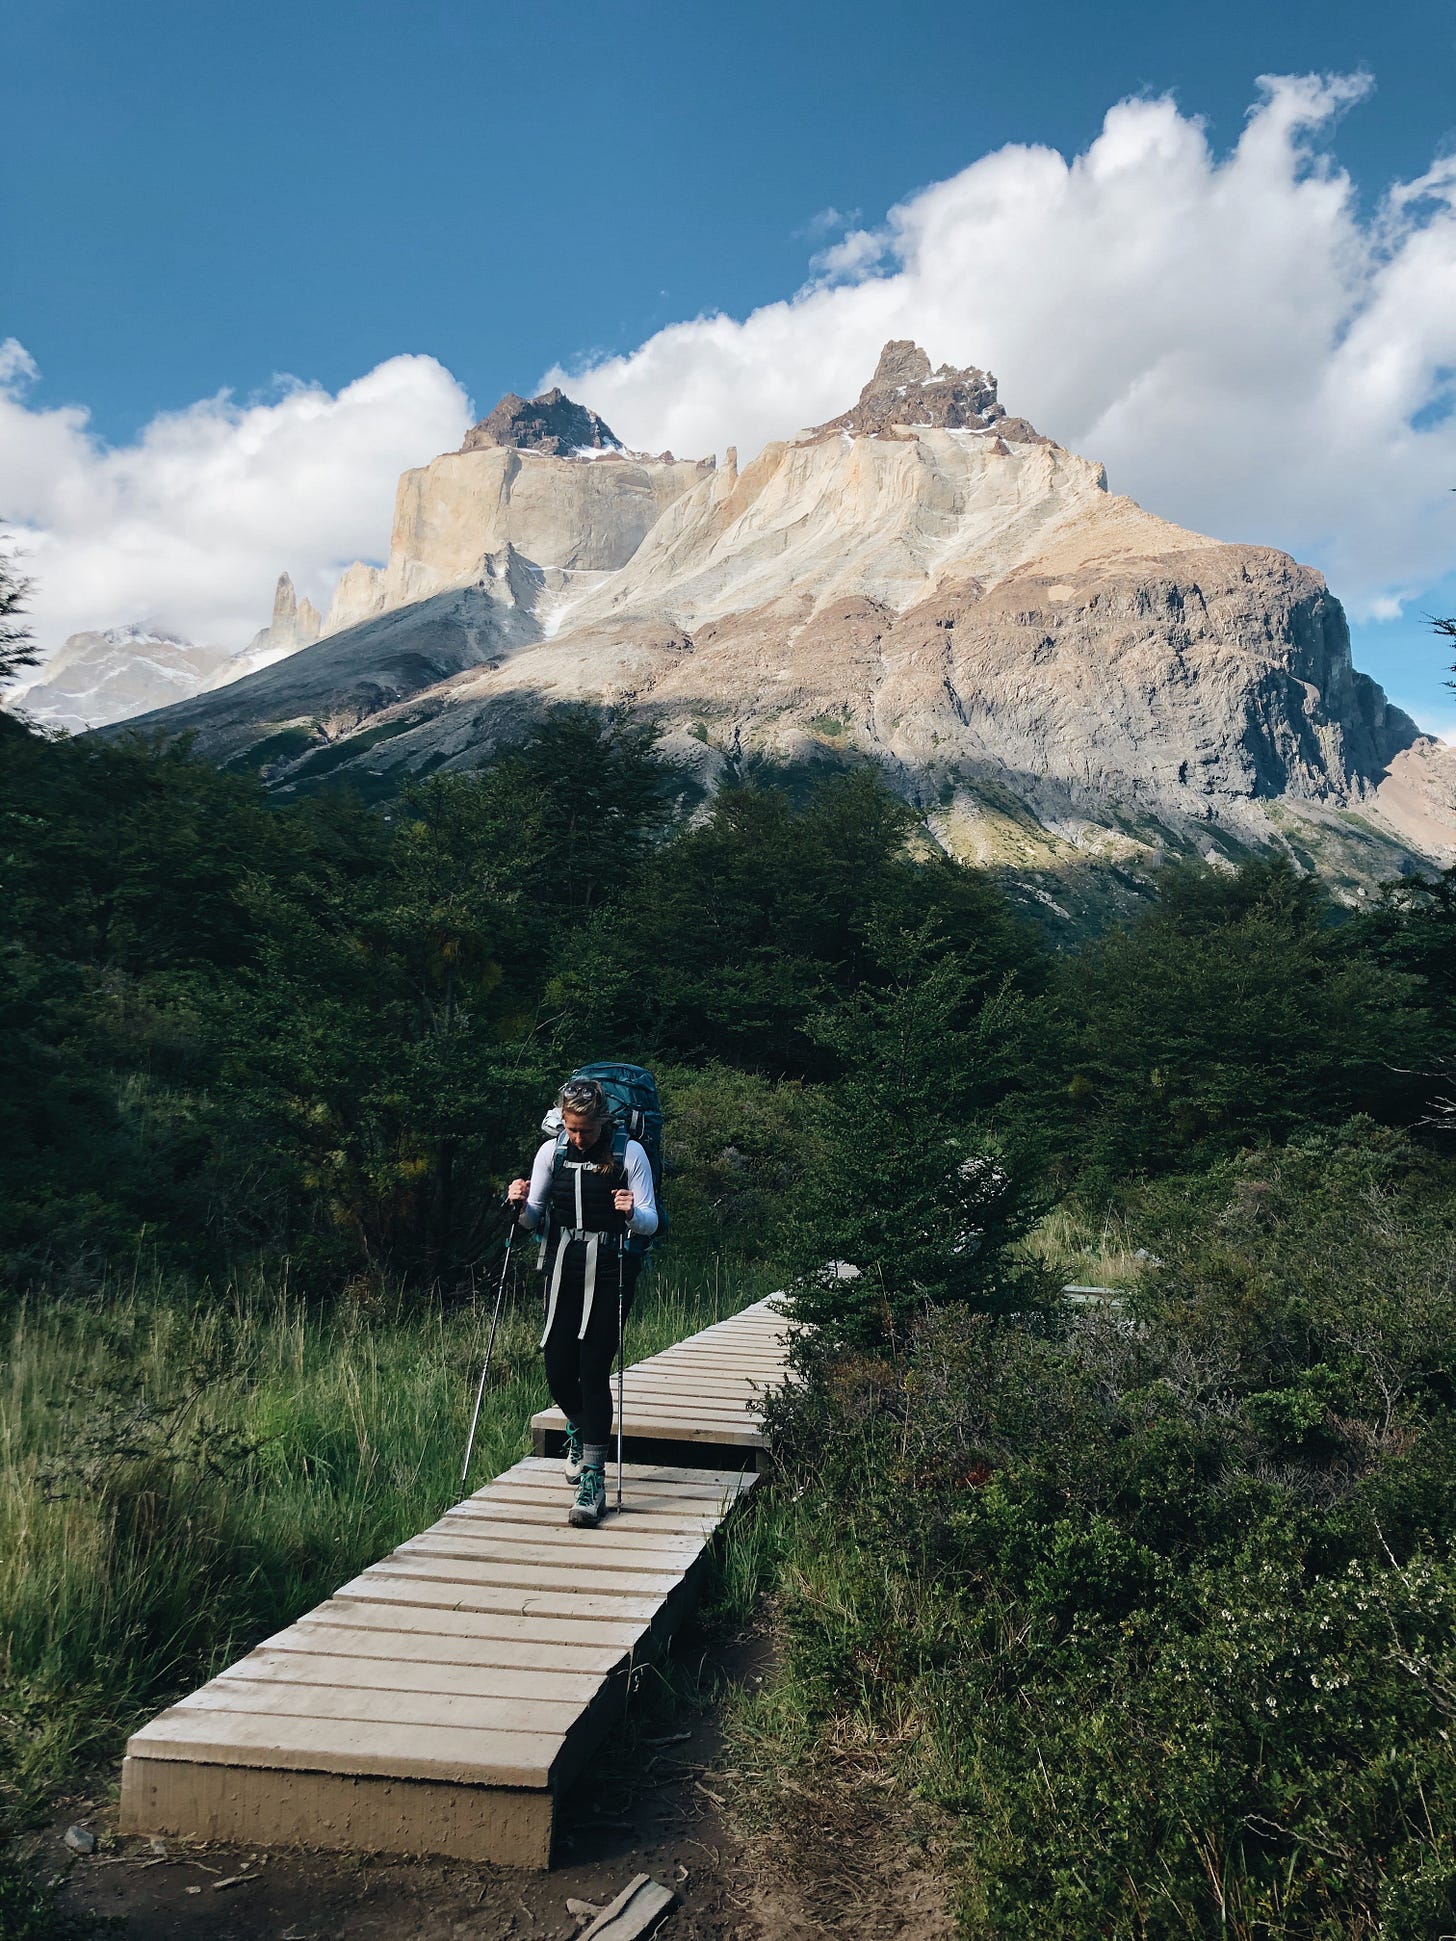
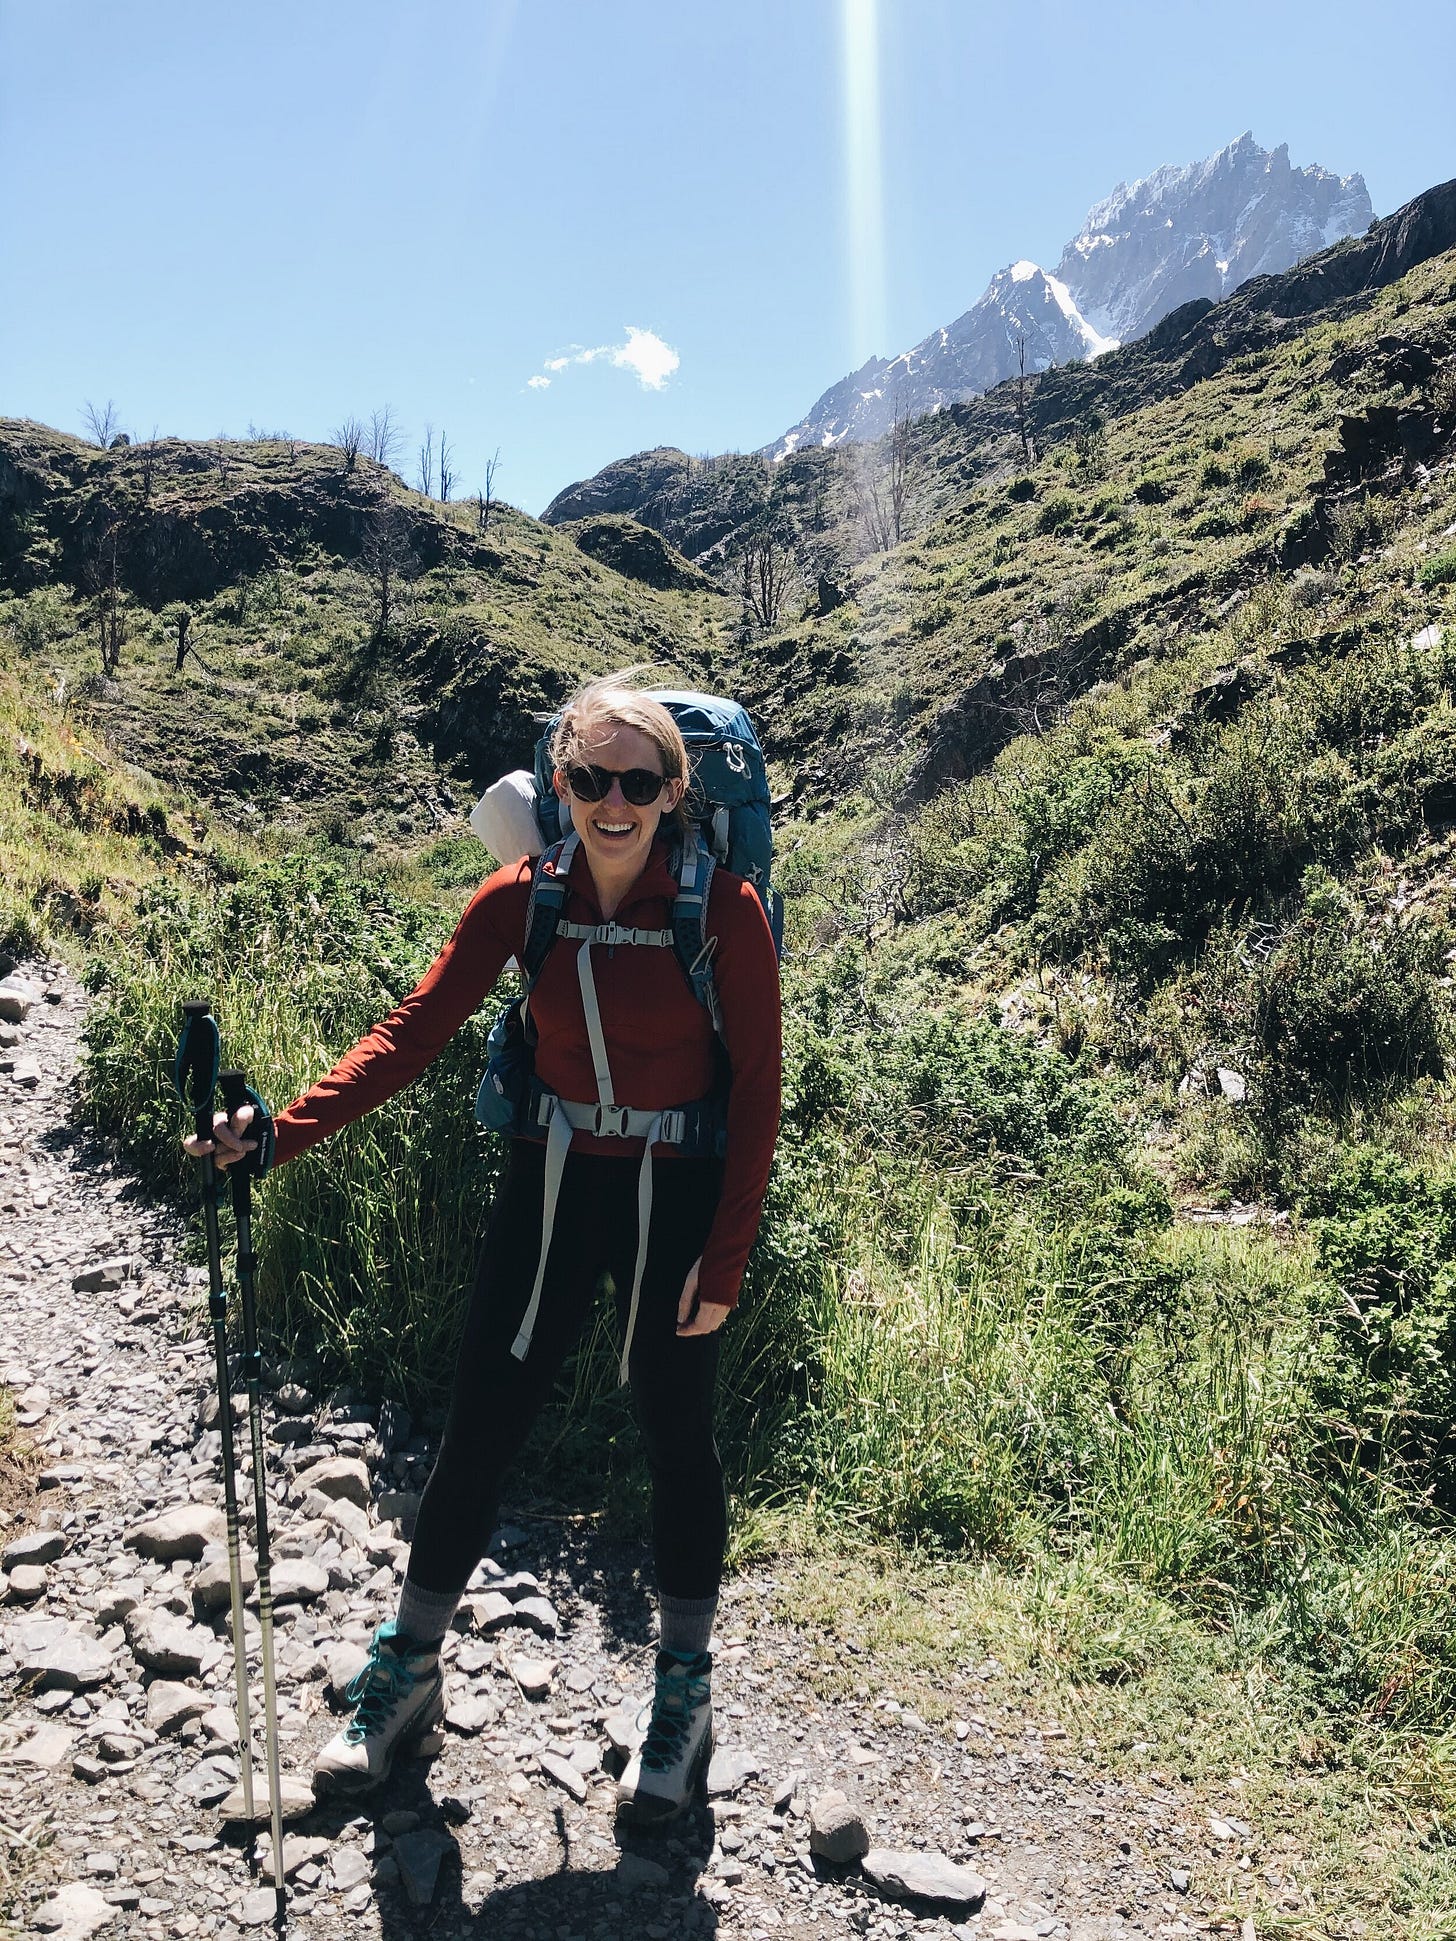
In December of 2019, we did the full “W Trek” in the Torres del Paine Park. We scheduled for six days in the park, with five of them designated to be “hiking” days and one day off to rest and explore in the middle. (Hooray for vacation days!) It was absolutely one of the coolest things I have ever done, with incredible views, challenging hikes, and such an amazing adventure.
This post has just about everything I can think of about the logistics, planning and packing that went into our W Trek experience. Part 2 includes our actual experience and reflection on the trip as a whole.
budgeting and saving for the trip:
This is one of the most common questions that I got about our trip -- everything ranging from “how much did it cost” to “how did you save for it?!”. And y’all I wish I could tell you exactly how to do it!
For Mark and I, this kind of travel is a gift and a luxury that we save for the same way that we save for other big purchases:
research on costs to expect (flights, other research, blog posts on experiences, etc)
outline a rough budget, set a goal and put aside money towards that goal for MONTHS in advance.
And at least for us, deciding to spend money on things like a backpacking trip on the other side of the world means we don’t spend as much on other things. We’ve been doing things this way for as long as I can remember, so most of the time it doesn’t feel much like a sacrifice. And as much as I’d love to be that influencer that has all their trips comped in some way, this definitely wasn’t that either — just us planning and saving in advance.
In the hopes of making your planning (somewhat) easier, here’s a rough breakdown of costs for the duration of time we were in Patagonia (from the arrival in Punta Arenas through arrival in El Calafate, Argentina at the end of the trip):
Flights: the most expensive part. We bought tickets WAY early, and used miles for the flights to and from South America which cut down costs dramatically. Your costs will vary here based on when you buy (ranges from low $100s to $3000s) as well as your other logistics like travel before and after your trek. I just recommend setting flight alerts and being flexible with your schedule / being willing to take non-direct flights if you want to cut costs.
Transportation: We spent around $275 on transportation overall (buses, boats and a car transfer). This can be done significantly cheaper by only taking buses.
Lodging: We spend around $250 on lodging (bed and breakfast in Puerto Natales as well as entry fee and campsite reservations for the W trek).
Food: We spent around $350 on food - the bulk of this came from our decision to reserve dinners at the refugios rather than to bring a camp stove and cook dinners on our own. If you’re looking to cut costs on the actual trek, I’d recommend cooking all of your own food, or exploring the packages offered by the Refugio companies -- it seems like they offer some discounts if you book the whole experience through them.
Activities: We had reserved a kayak excursion around Grey Glacier for around $180 total: it ended up being canceled due to wind so we got a refund. All other “activities” (e.g. hiking) were free.
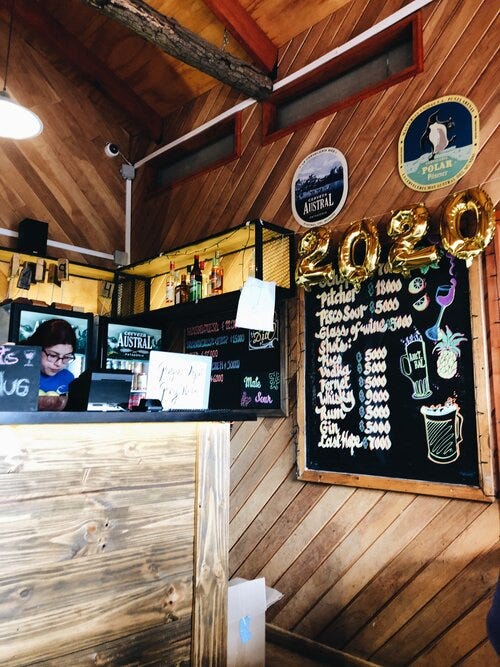
Miscellaneous: We counted on around $300 for miscellaneous expenses - coffees in Puerto Natales, a few extra things at the hiking supply stores, drinks at the refugio bars, and souvenirs from the park shop. It ended up being a little bit under this.
getting to patagonia: seattle to puerto natales
We flew from Seattle to Atlanta, and then down to Santiago Chile (stayed for ~36 hours). From Santiago we flew to Punta Arenas, and then took a bus from Punta Arenas to Puerto Natales. (phew).
We arrived in Puerto Natales around 11 am on Friday, and departed for the park the following morning. We stayed at Pire Mapu Cottage - a charming little b’n’b that wasn’t particularly fancy but got the job done.
In Puerto Natales, we went to the daily information session hosted at Erratic Rock Hostel - they give a free overview of the park, info on closures and some insider tips. They also have gear rental if you need it. We spend the rest of the day running some last minute errands, eating, and then trying not to psych ourselves out before packing up and calling it a night early.
Other things we did in PN and can recommend:
Emporio Menta Cafe: vegan / vegetarian cafe and shop: if you’re looking for things for specific dietary restrictions to bring on the trek, this might be a good spot.
Last minute grocery run for things we didn’t bring with us from Supermercado Superfrut (significantly less crowded than the other grocery store down the street)
Pick up dried fruit for the trek from Frutos Secos (great selection)
Local Craft Beer + an actual salad (!!!!) at Baguales
Lunch at Masay Pizza (Mark like this significantly more than I did - he got a very intense burger and I got a pizza and was underwhelmed.)
Last Hope Distillery - I had the chance to try this in the park and was a huge fan. Only regret was that I didn’t bring some of the calafate gin home with me!
getting to torres del paine:
Because after our hike we were going straight to Argentina and we wouldn’t be returning to Puerto Natales, we needed to check our “normal clothes” bag in the park (#highmaintenece). Logistically this was challenging with the existing bus routes, so to avoid any trouble we hired a driver to get to the park, drop our stuff, and then on to the catamaran where we would start our hike.
The guy who drove us typically runs a custom tour company, putting together custom Patagonia treks and vacation experiences (so you don’t need to book all the campsites on your own, etc) -- he was very experienced and knowledgeable, and shared a ton of information about the park with us we would have otherwise missed.
If you’re looking for support planning your trip, need transfers (like our complicated bag situation) or ideas on what to do in Patagonia, I’d definitely recommend the company: 2Patagonia
If you’re returning to Puerto Natales after your trek, most people just take the buses from Puerto Natales into the park: They run on a fairly regular schedule and are all pretty comparable cost-wise (~$21 USD).
Regardless of how you get there, everyone must stop at the park entrance at Laguna Amarga, where there is a small fee (~$30 USD per person, to be paid in cash in Chilean Pesos) and paperwork needed to enter the park. You will need to provide printed documentation that you have accommodations reserved for all the nights that you will be staying in the park, which will also need to be presented when you check in at campsites.
where to stay in the park:
The park has designated “refugios”, or lodges owned by both the national park organization and different independent companies (CONAF, Fantastico Sur, and Vertice Patagonia, respectively). You’ll need to navigate a combination of these websites in order to reserve campsites, pre-set up tents, or little bungalows to stay in. Unlike most parks in the States, you can’t just show up and get a campsite: they need to be reserved in advance in order to even enter the park.
OUR W TREK ITINERARY:
We arranged all of our campsites individually, and did not do the trek with a group or with all bookings arranged through a single company. Our schedule was as follows:
Night 1: Refugio Grey (Booked via Vertice Patagonia)
Night 2: Campground Italiano (Booked Via CONAF. Bonus: it’s free!)
Nights 3-4: Refugio Los Cuernos (Booked via Fantastico Sur)
Night 5: Refugio El Chileno (Booked via Fantastico Sur)
In order to secure the campsites that we wanted in the order that we wanted them, we began planning our trip in March 2019, for the trip in late December 2019. Many of the friends we made on the trek had needed to book full tours and meal packages with one of the companies rather than just campsites because things had booked out in advance: so if you’re interested in tent camping, cooking your own food and setting your own schedule, be sure to plan well in advance.
Several of the sites are only available in Spanish (hello, Google Translate plugin!), and there are some campsites that are restricted or no longer available. For a really excellent summary of navigating the whole process on the booking sites and more information about other campsites that we didn’t use, I can highly recommend this blog post from Travel Outlandish. Otherwise, I wish you patience and good luck in the 200th annual hunger games!
If you’re interested in more of a “choose your own adventure” style of trip to TDP, check out this post on other routes in the park.
weather to (sort of) expect:
We visited in late December/ early January, so the weather was about as summery as it gets there: temperatures between 40s at night and 70s during the day. Typically, hikers are told to expect “all four seasons in one day” while hiking in TDP: a combination of wind, rain, snow, sun / heat and clouds with strong, fast changes in temperatures. The changes can be so dramatic that it’s widely accepted that it’s the weather, more than any technical hiking difficulty that has the potential to create extreme experiences in the park.
An experienced hiker who had spent quite a bit of time in the park told us that we would just be wet while hiking, so our best bet was to park well and ensure that our non-hiking gear (clothes, sleeping bags) were dry (um, yikes?) We lucked out, and despite being mentally (and actually) prepared for torrential rain and wind and cold, we had fairly mild weather; what felt like pretty reasonable wind, mostly sunny and moderate temps, and only one day of rain. I wouldn’t count on that, and would encourage you to be over, rather than under, prepared.
packing list - gear:
Our hiking gear as listed here is a mix of things accumulated over the years and things bought specifically for this trip. I was pretty lucky to have gotten some things (like my pack) as gifts from family. Otherwise, to be completely honest, getting the gear we needed for the trek was a significant portion of our budget, and we spent a lot of time hunting for sales and second hand gear.
editor’s note: I’m extremely pleased to report from the future (2023) that this gear list from 2019 is almost exactly the same as the one we utilized in 2021 for summiting Mt. Kilimanjaro with just a few tweaks and some cold-weather additions. 10/10 choices across the board!
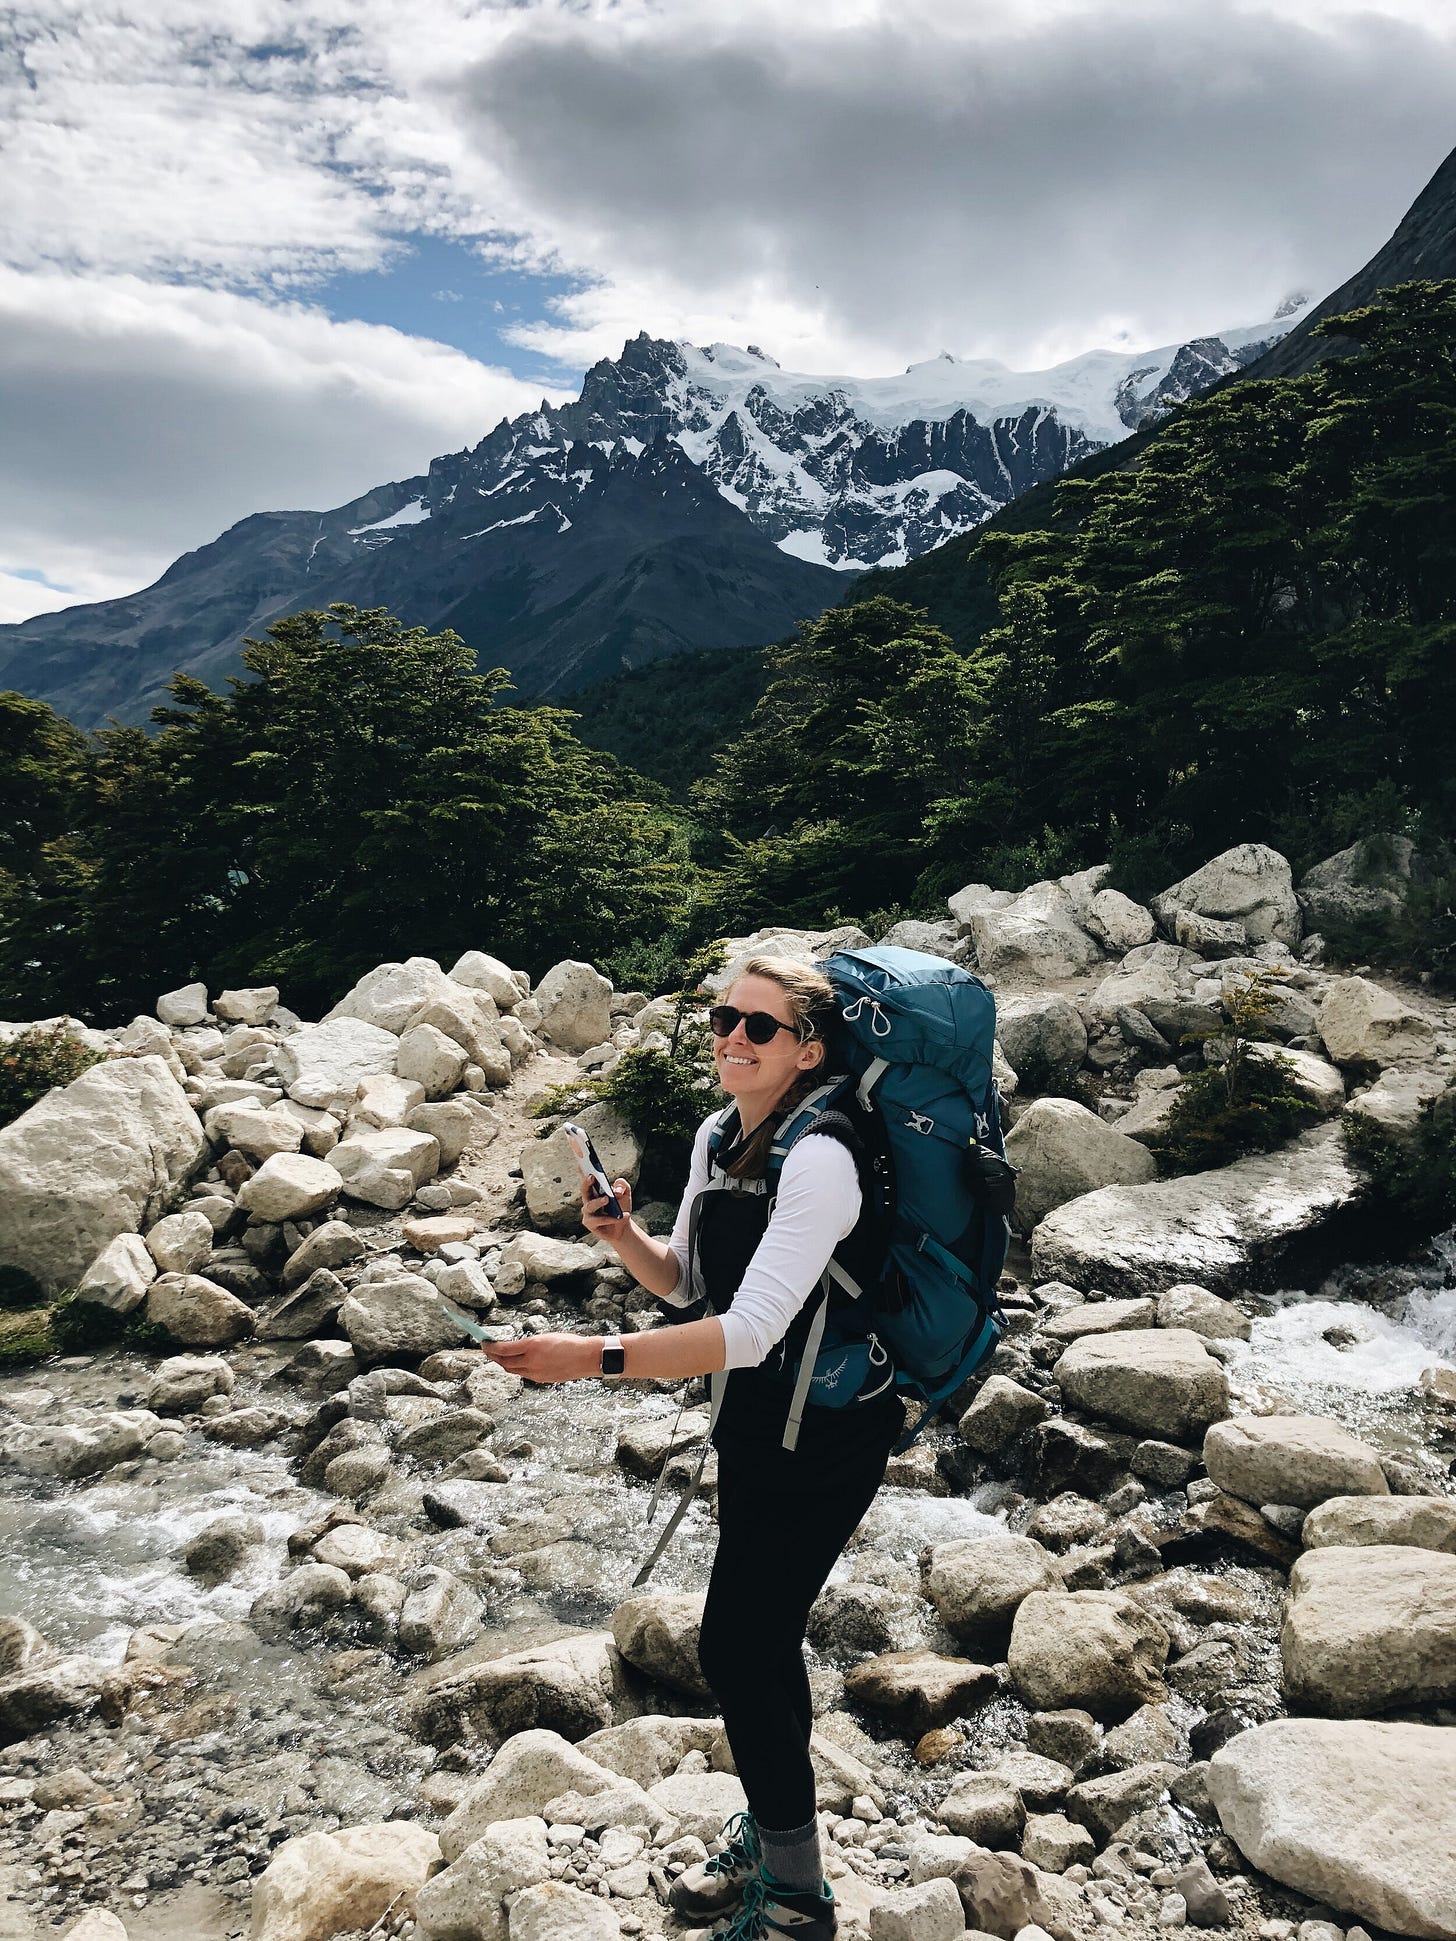
Osprey aura 65L pack + waterproof cover (me - Mark has a different one!)
Nemo Viola 20 Sleeping Bag + Stuff Sack
REI packing / compression bag
Tent: REI Half Dome 2+ (Mark carried this 😂)
Day hike bag: REI flash pack 22L
Water: 32 oz nalegene + 1.5L osprey reservoir - note on water: running fresh water in the park is drinkable without any treatment or filtration, making carrying and refilling water for your trek an absolute breeze. some of the best, freshest water i’ve ever had in my life!
First aid gear for blisters/cuts
Extra rope
Sunglasses
packing list - clothes, etc.:
La Sportiva Nucleo hiking boots
Squishy foot pad for my right foot (I jammed /broke one of my toes and now have a Morton’s Neuroma, deeply annoying)
Camp shoes: rainbow flip flops
Tops:
Sports bras: 3
Socks: 4 pairs smartwool (2 extra thick 2 regular)
Leggings: 4 pairs
Black compression x2 (hiking)
Blue fleece linked (cold)
Blue wonder unders (extra)
Sleeping: Long pants + T-shirt
Layers:
Yellow Lululemon Another Mile Jacket
Black Lululemon Pack it Down Vest (layer + pillow)
White fleece/ cotton buff
Toiletries, etc:
Shampoo/ conditioner minis
Bumble & bumble mini hairdressers oil spray
Toothbrush, toothpaste
Cocokind matcha moisture stick (a lifesaver)
Glossier mini milky jelly cleanser
Drunk elephant protini facial moisturizer (not strong enough for how dry it is, do not recommend)
Mascara (silly but personally worth it)
Mini brush, hair bands, Bobby Pins
Tampons, etc
Microfiber towel
other stuff:
Electronics (largely kept in a dry bag):
Phone, watch + chargers
Camera gear: Canon eos m50 camera + 14-45mm lens/ 35-200 mm lens. Brought additional batteries (2x), and memory cards (2x)
Universal Travel Adapter - most of the refugios have USB plugs where you can charge, but you can’t count on it. I brought an l’ve had for years with 2x USB plus and 2x regular plugs. A little bulky but worth it.
Things I wish I brought but didn’t: left my hat in the suitcase we stored (jet lag brain) and considered bringing shorts and didn’t- really would have appreciated having them. Otherwise, I packed great!
Things I brought and didn’t need/ want: honestly, I overpacked. but I had no idea what to expect from the weather and between the sun/ rain/ wind/ heat we experienced I actually ended up needing everything. Despite the extra weight, having an extra pair of leggings and a clean top to put on at the end when everything was stinky or soaked was really great. Even the toiletries (which might be more than other people need/ want) all got used and I was super happy to have them, especially on the day I was able to get a hot shower.
where (and what) to eat in the park:
Due to a series of absolutely devastating fires in the park, cooking (and smoking) is restricted to designated areas on the refugios land. You can either bring your own cookstove and food, or reserve meals at the refugios. The refugio meals are not particularly cheap, and depending on which refugio really range in terms of how good they are.
We brought our own breakfasts and lunches (both brought from the US and purchased in town in Puerto Natales), and reserved dinners at the refugios along with our campsites. We did this largely in order to cut down on the amount of gear we would need to carry by not bringing a camp stove. I had planned to grab hot water from the kitchen to make coffee in the mornings, which didn’t always end up being possible, but otherwise this was a great system.
Dinners were typically 3 courses: a soup + bread starter, an entree (typically the “main” plus rice or other grain) and a small dessert, in addition to a plate of veggies passed around the table (not quite a salad - usually things like black beans, onions and peppers, or corn, cucumbers and shredded carrots).
All the refugios offer a standard vegan / vegetarian option - you just need to have noted it ahead of time when you made your reservation. I was extremely worried about how this would go, and was overall very impressed and satisfied.
Breakfasts were fairly standard scrambled eggs + toast + jam + something that tasted almost like nutella, with a juice and coffee available.
Most refugios offered lunches “to go”, typically utilized by hikers on a group tour or who had purchased full packages. From what I could tell these included a sandwich, as well as pre-packaged trail mix, granola bars, and some kind of fruit in a brown bag.
These lunches have a lot of waste associated with them due to the large amounts of packaging, which you would need to carry with you until you leave the park. I wouldn’t recommend them.
We had a special menu for New Years Eve with fancy options at Los Cuernos, although others said their refugios did not offer the same. I can’t say any of it was the best food I have ever eaten, but it was always nice to have a hot meal someone else cooked after a long day of walking.
packing list - food:
Since we reserved dinners every night as well as two breakfasts, we packed food for 3 lunches, 3 breakfasts and snacks for all 6 days: we ultimately ended up needing 5 lunches and 3 breakfasts due to some logistical challenges (e.g. the Paine Grande restaurant and bar just “not serving food” the day we were there) so even though our snacks took up considerable room/ weight, I was happy with what we brought.
My food:
GoMacro bars x6
Nut butter packs x6 (3 Justin’s 3 RX)
Vegan jerky x2
Squeeze packs of fruit/veggies- x3
pre-ground coffee + camping pour over (editors note in 2023: in hindsight, I would not recommend this again. get good instant coffee instead!)
Mark’s Food (not a snacker, obviously).
Regular jerky x2
Granola bars x5
Cheese, crackers + salami x2 (packages of each)
Shared Food:
dried mango (we brought 2 different kinds)
dried kiwi x1
Inca corn x2
Chocolate bar x1
Trail mix x2
Roasted chickpeas x1
bag of baby carrots x1
Clif Shot margarita + electrolytes x2
We ended up finishing about 75% of the food we brought on the W, and then finished the rest of it either on the bus to El Calafate or on the glacier ice trek. The only thing that didn’t get finished was the chickpeas (about 50% gone) and a chocolate bar, which I didn’t even open until we were in Buenos Aires.
In terms of packing, I brought two medium size bags for food- a “right now” bag and a “later” bag. I kept the right now bag in the easy access pocket in the top of my pack for lunches and snacks on the trail, and the “later” bag packed in the center of my pack to distribute weight more evenly. I also brought a small bag for trash and collected all wrappers, coffee grounds, and other waste we made during the week to dispose of once we left the park.
Important to note: it is forbidden to leave waste of any kind in TDP park, even at refugios (refugios have bathroom waste receptacles for toilet tissue, but that’s it): all waste that you generate needs to be packed out of the park with you. I was shocked and delighted to see that, and genuinely surprised at how clean the trails were: no trash that I could see anywhere.
Check out Part Two for a day by day run down of our experience and itinerary, some on the fly learning and overall reflections of the W Trek!


